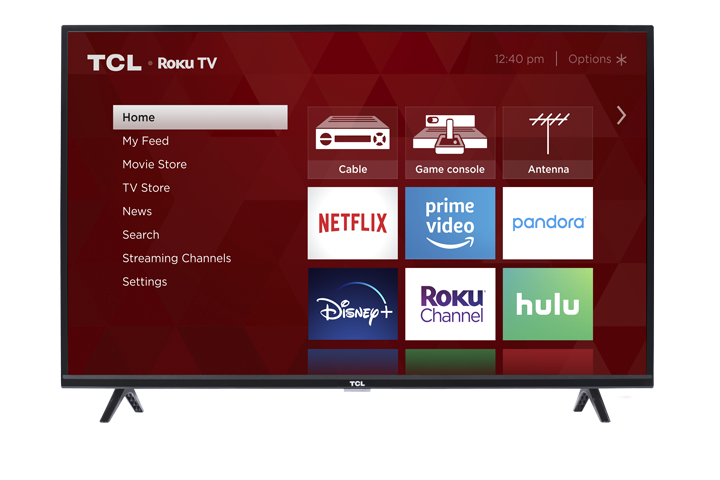
You may find that installing the screws directly with the legs attached to be challenging. This is due to the need to pre-thread the screw holes before attaching the legs. You will need to attach the screws, then unscrew prior to attaching the legs. See instructions below.
Applicable models: 28D2700, 28S3750, 32S3750, 32D2700, 32S3850, 40FS3800, 40FS3750, 40FD2700, 40FS3850
Tools/Parts Required:
- Phillips screwdriver
- 4 screws (2 screws for each Leg)
- (1) Left and (1) Right Side Legs
Installation instructions –
1. 1) Get the TV ready - Place the TV face down on a soft, cushioned surface on a table. Position the TV so that the stand, when attached, will hang over the edge of the table.
- It is recommended to use strong screwdriver or a power screw-drive if available.
NOTE: It may take considerable force to screw in completely because you are pre-threading the screws directly into the TV.
2. 2) Pre-Thread with screws - First pre-thread the holes on your TV by screwing each screw into the holes without the legs.
- It is recommended to use strong screwdriver or a power screw-drive if available.
NOTE: It may take considerable force to screw in completely because you are pre-threading the screws directly into the TV.
3. 3) Remove the screws - Remove the screws completely. Now the holes for installing your legs are pre-threaded and ready for installation
4. 4) Attach the legs with the screws - One at a time, line up the holes on the legs with the numbs on the TV, then install the legs using the pre-threaded holes and screws provided.
- Each leg is labeled with an L (Left side) and R (Right side).
- Each leg has an arrow; the arrow should be pointing toward the front of the TV if installed properly
5. 5) Final Safety Check - 5) - Please ensure the screws are tightened fully. The legs should not move or wiggle if installed properly. If you notice any wiggle, continue to tighten the screws with increased force.
Note – If for some reason you strip the screws provided, please contact TCL support using the e-mail form at the bottom of www.tclusa.com/support/


