


You can adjust most picture and sound settings while you’re watching TV by pressing the ✱ (Asterisk) button on your TCL Roku TV remote. This opens the Options menu so you can make changes without leaving what you’re watching. If you don’t see the setting you need, there are additional picture settings in the full Settings menu.
How TV settings are saved
In most cases, your TV saves settings by input:
Antenna TV, HDMI 1, HDMI 2, etc. can each have their own picture/audio settings.
AV inputs have their own settings and will be remembered when you return to that input.
The TV also remembers settings you choose while watching streaming content.
This means HDMI 1 can look different from HDMI 2—even if they use the same “Picture mode.”
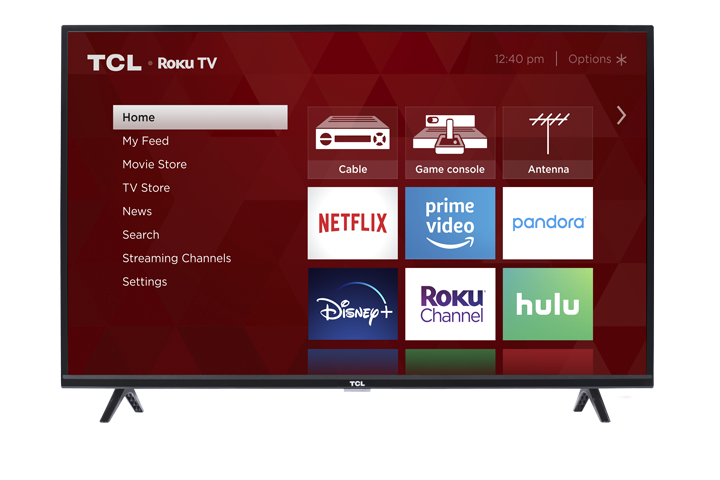
Option 1: Adjust settings while watching (fastest method)
Start watching a show, streaming video, or the input you want to adjust.
Press ✱ (Asterisk) on the remote to open the Options menu (it appears over the left side of the screen).
Use ▲/▼ (Up/Down) to highlight a setting.
-
Use ◄/► (Left/Right) to change the setting.
You’ll see the change immediately.
When you highlight a setting, the TV explains what it does in the header text.
To close the Options menu:
Wait a few seconds without pressing any buttons, or
Press ✱ again to close it right away.
Common options you’ll see
TV brightness (overall brightness across the entire TV—applies to all inputs)
Picture mode (preset look for the current input only—such as Movie, Vivid, etc.)
Option 2: Use the Settings menu for overall picture controls
If you want to change settings from the main menu:
Press Home to go to the Home screen.
Go to Settings > TV picture settings
From here you can adjust:
TV brightness
Use this when the lighting in your room changes (darker room = darker setting; brighter room = brighter setting).
This setting adjusts the TV’s general brightness across all inputs, so you don’t have to change it one input at a time.Settings per input
Select an input to switch to it, then press ✱ to adjust that input while you can see a live picture.
Tip: You don’t have to go into Settings first—anytime you’re watching an input, just press ✱ to adjust it.
Advanced Picture Settings (fine tuning per input)
If you want more detailed controls (like Contrast, Sharpness, Color temperature, etc.), use Advanced picture settings.
While watching the input you want to adjust, press ✱.
Select Advanced picture settings.
Use ▲/▼ to highlight a setting, then ◄/► to adjust.
All advanced picture settings apply only to the currently selected input (and are typically saved per picture mode, per input).
Advanced settings you may see
Picture mode – Presets like Movie or Vivid; changing this adjusts multiple picture settings at once.
Backlight – Overall screen light output.
Brightness – Dark level (black areas).
Contrast – White level (bright areas).
Sharpness – Edge definition.
Color – Color intensity (0 = black & white).
Tint – Green-to-red balance.
Color temperature – Cool (bluer) to Warm (redder).
Picture size – Aspect ratio; Auto usually works best for most content.
Game mode – Reduces input lag by lowering image processing (available on HDMI® and AV inputs).
Reset picture settings – Restores the current input’s current picture mode back to its defaults.
To close Advanced picture settings:
Wait a few seconds, or press ✱ again.