


Ensure while setting up the WIFI on your air conditioner and dehumidifier, that it is close to your router, as the unit requires a good signal during the setup process. Your air conditioner is designed to be connected to a 2.4ghz network, and the connection is set up using the TCL "SmartLife-SmartHome" app by ACSmart or TUYA which is also available on the Google Play or Apple store.
Note: 2023 or newer devices are not compatible with this app. Those devices require the TCL Home App.
Wi-Fi set up for Air-conditioner and Dehumidifier
- On mobile device enable the following:
- Wi-Fi, connect to a 2.4Ghz network. (Note: 5Ghz networks are not supported and will not work properly.)
- Bluetooth
- Location
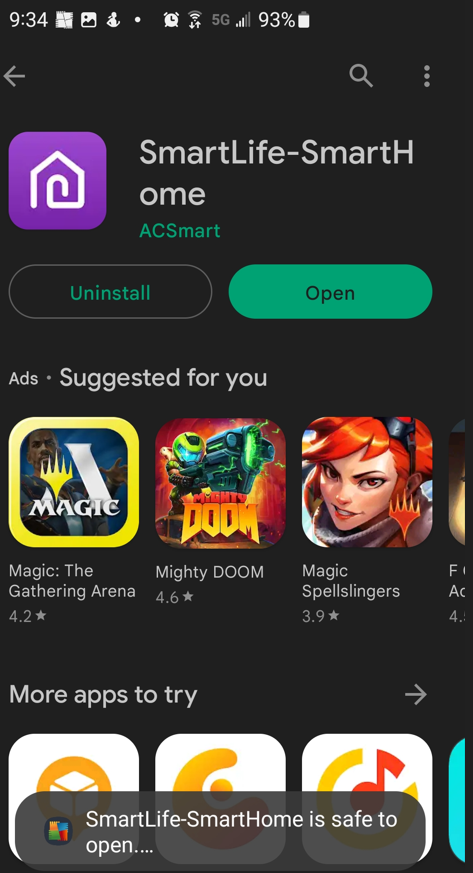
- Download an install the latest version of the TCL SmartLife-SmartHome App from the Google Play or Apple Store. The links can be found at tcl.link/homeconnectapp
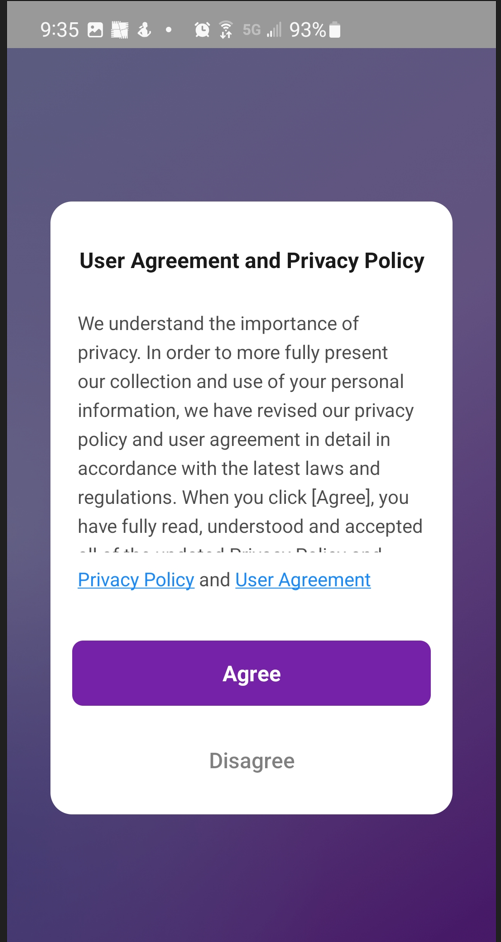
- After the installation is complete review the Privacy Policy and User Agreement. Select Agree to proceed.
-
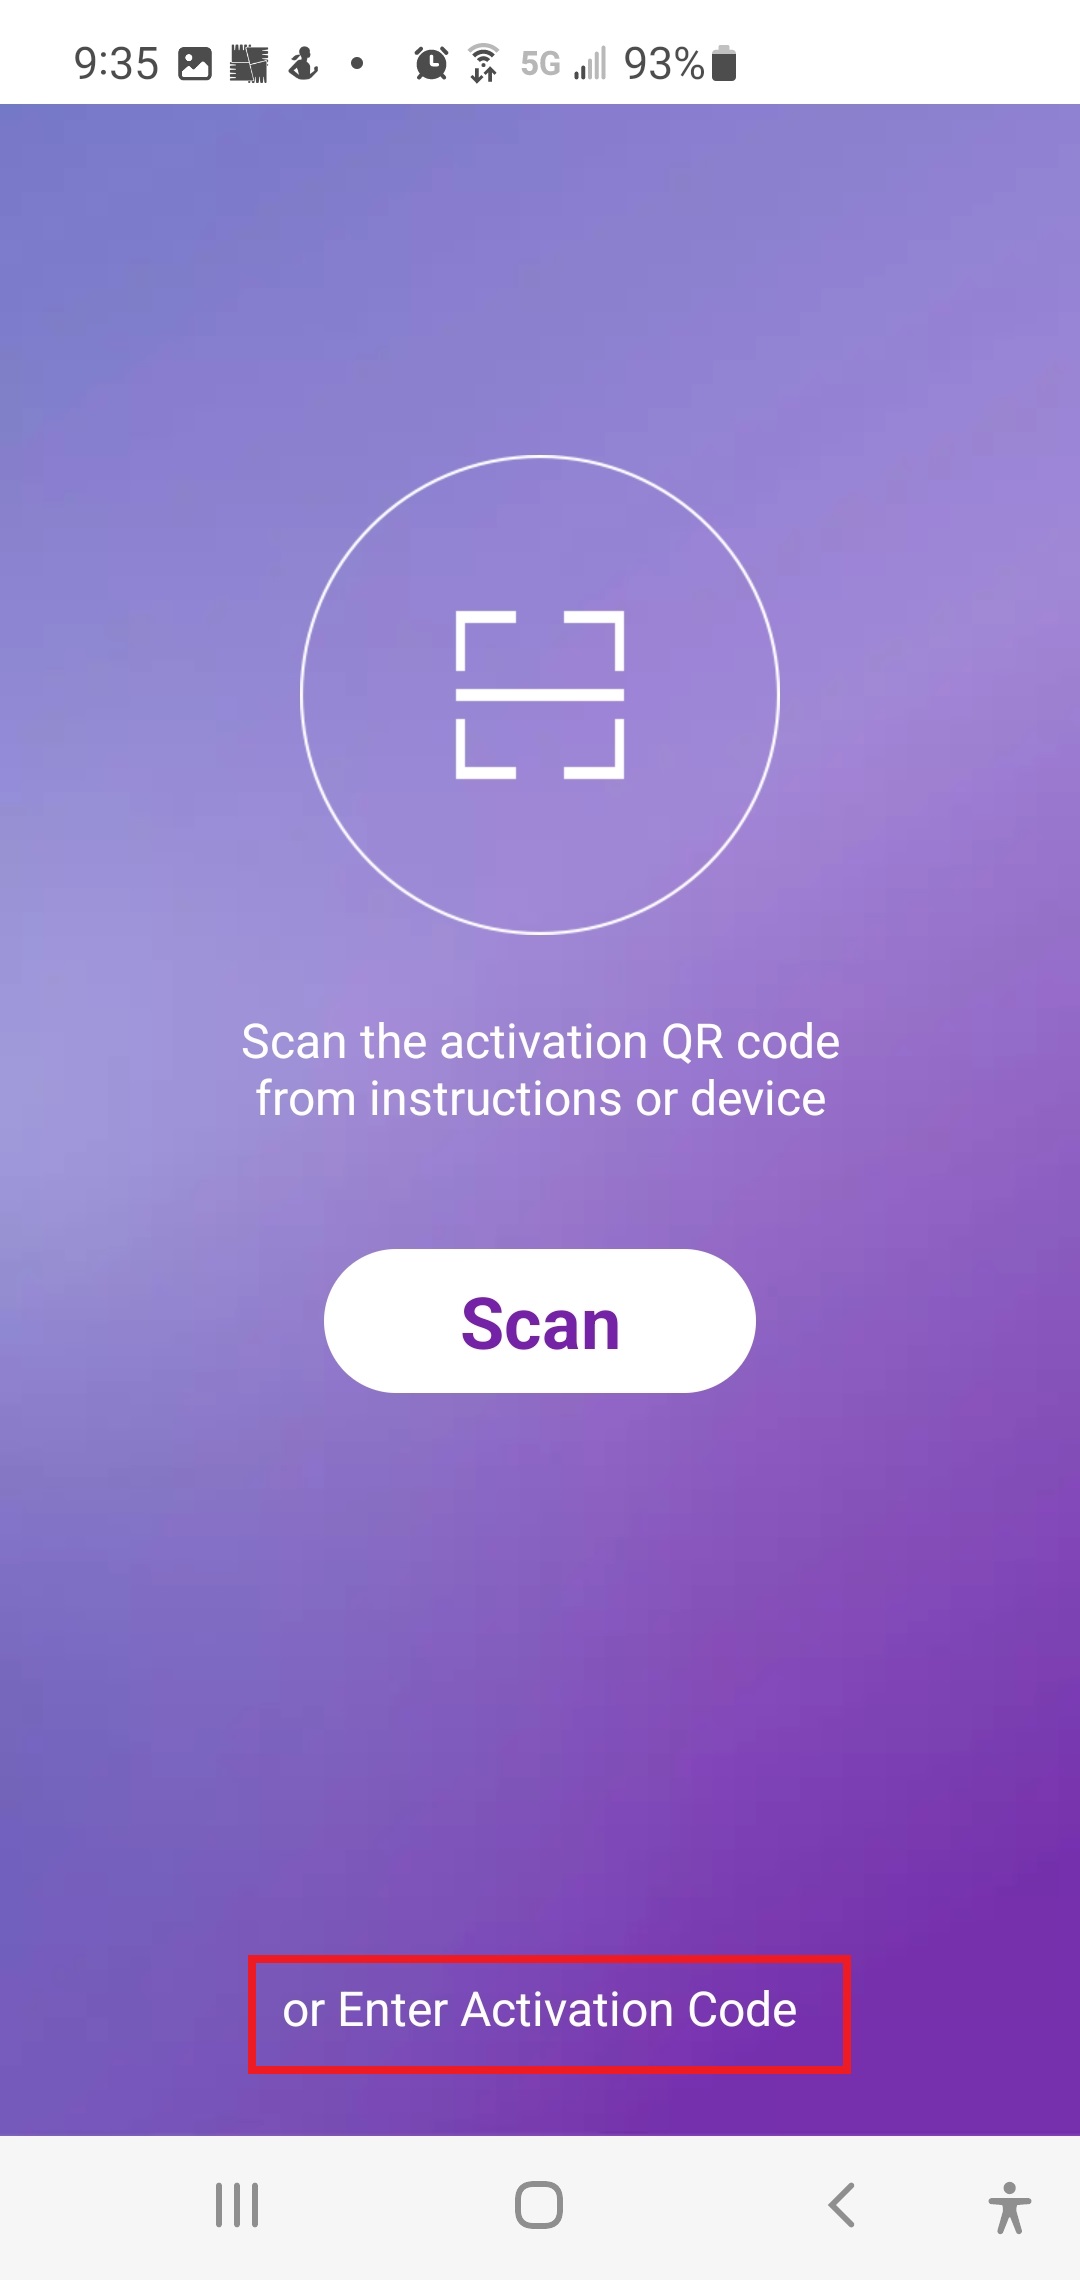
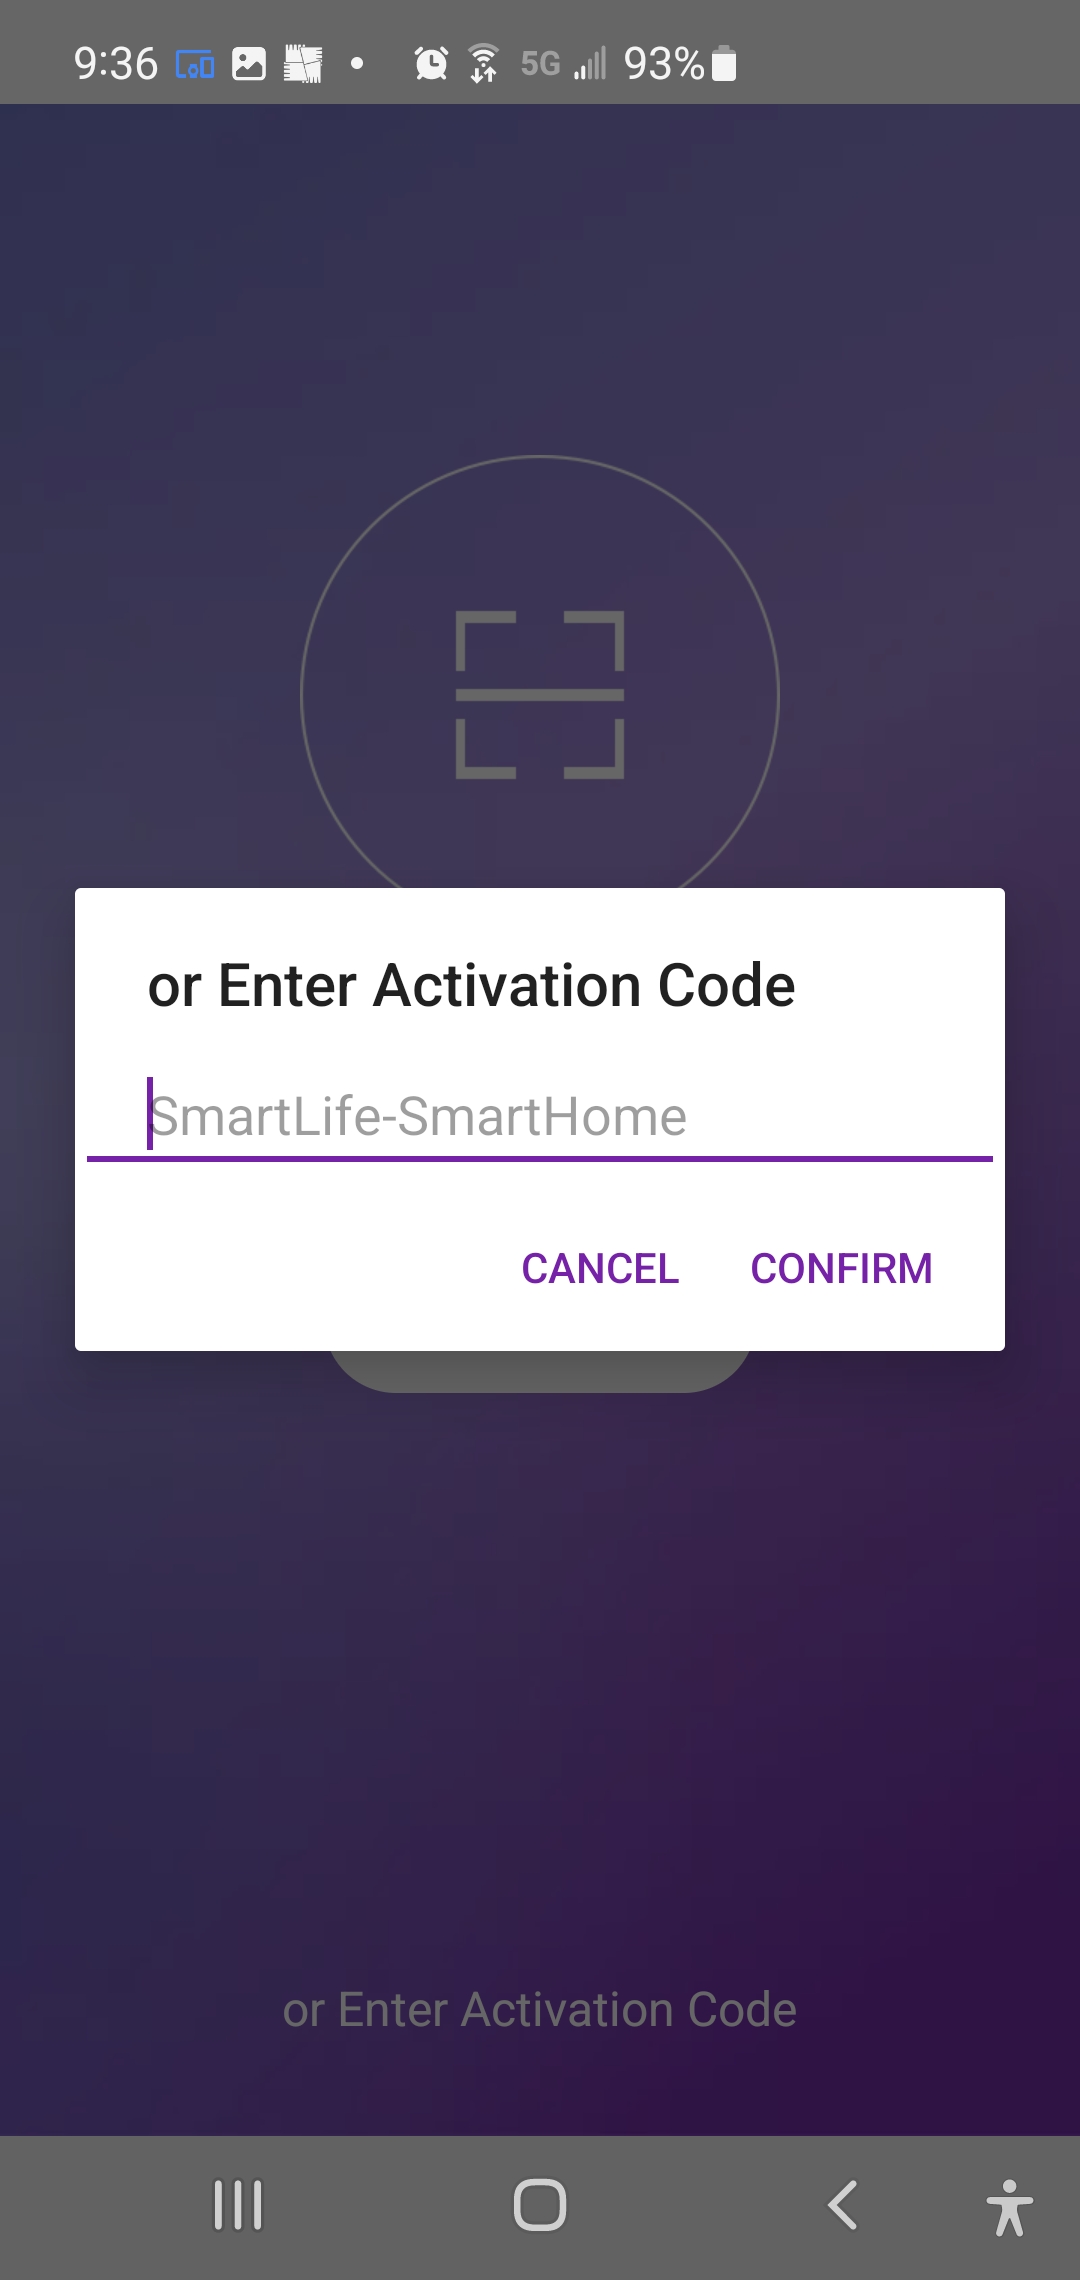
- On the next screen select Enter Activation Code at the bottom of the screen. On the next screen enter TCL (All upper case), then select CONFIRM.
-
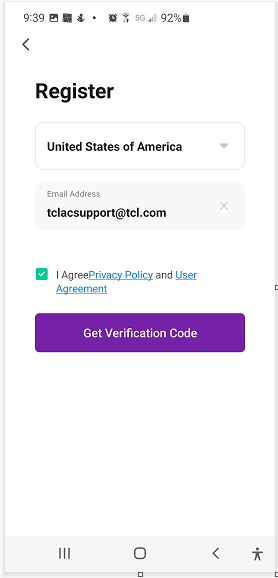
- On the Registration page enter a valid email address, review and accept the Privacy and User Agreement, and select “Get Verification Code”. Check the selected email inbox for the verification code sent by SmartLife-SmartHome. Enter the code from the email into the app. On the next page enter
-
Login user account. Once you have registered and created an account, click the "Login" button. For phone number login, press the "Sign In with SMS" button to enter the login screen. If in case they forgot the password, press the "Forgot password" button to enter the next page. Type in the registered phone number or email address and press the "Next" button to continue.

-
Type in your phone number and press "Get" to receive a verification code. Once the verification code is received, type it in the login screen and press "Login".

-
Add your device. Press the "Add Device" and click the type of product you are connecting. There are two methods to do a device match, "CF" or "AP" mode.

-
Add the device (CF MODE). The system defaults to CF mode, Press "Next Step" to continue. Select the home router, and fulfill the password of router, Press "Next" to continue.

-
The App will automatically do the device match. After a match is found, you will be prompted with the screens below. You can rename your smartphone device or share it with your family. Press "Done" to start controlling the device.

-
Add the device (AP MODE). Click the "AP Mode" to the "AP " page. Press "Next Step" to continue. Select the home router, type in the password and press "Next" to continue.

-
Add the device (AP MODE) Select the AC Device named "SmartLife-xxx" on the WLAN screen. The App will automatically match the device.

-
After the match is successful, the page will display the prompt below. If the match fails, the App will display a warning. Press "Retry" to try the connection again.

Controlling your AC with Wi-Fi-enabled
Click the air conditioner name to enter the control panel. Click the ON/OFF button to adjust the settings.


Adjust the settings to the operating mode you want to use: Cool, Heat, Dry, Fan, Auto. 
- Click the "Mode" button and choose the mode you would like. Some units are cooling only; the "Heat" mode will not function.
- In the "Dry" mode, the App temperature display may differ from the unit display because of the fast changes in temperature.
- For Fan mode, click the "Fan" button and choose the speed you want: Low, Med, High, Auto
- Other unit controls can be changed by selecting the "Function" button. Here you select the Sleep or Eco modes.
- In Sleep mode, the fan speed will set to low.
To Set the Timer Function
- Click the "Timer" button.
- The APP will enter the timer setting interface. It will display the task scheduler that was previously set.
- You can press to edit the timer or create a new timer by clicking the "Add Timer" button.

- Click the "ON" or "OFF" button to set Timer ON or Timer OFF.
- You can set the: Hour, Minute, Operate Mode, Operate Fan Speed, Operate Temperature.
- You can also set a weekly timer. After you're finished setting the timer, click the button to Cancel or Confirm.
Controlling your Dehumidifier with Wi-fi enabled
Click the Dehumidifier name to enter the App control panel. Click the ON/OFF button to adjust the settings.

You can adjust the settings for the operating mode you want to use. Click the "Mode" button and choose the mode you would like to change. Other unit controls can be changed by selecting the "Speed" button. By selecting the Speed control, you can adjust the fan speed.

To set the Timer function: Click the "Timer" button. The App will enter the timer setting screen. It will display times that were previously scheduled. You can press to edit the timer or create a new timer by clicking the "Add Timer" button
